Create a Blank Screen
Mix and match different elements to create a customized screen.
Use a Blank Screen to give participants a highly customized, visually engaging experience. In a Blank Screen, each element occupies the full width of the screen. Participants scroll the entire length of the screen to get to the transition and submission button at the bottom, just like the infinite scroll experience elsewhere on the web.
- Optional:
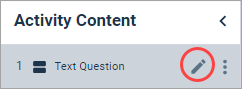
Edit the screen name.
In the Activity Content area, click the edit button on the right and type a new name. This name is not visible to participants.
Next, you will add elements. You can mix and match different ones and arrange them in your desired order, but there must be at least one element on the screen. Otherwise, an error will occur.
-
Add a Choice Question element.
-
Add answer images.
Click the add image icon in the middle.
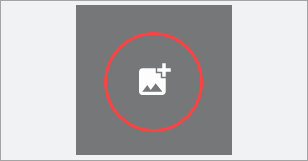
Select an image from the library or upload a new one, and click Save.
Tip: Experimenting with what looks best in your Blank Screen's Choice Question element?- It's easier to start with an Image + Text element and convert it into an Image element than the other way around. Simply delete the answer text under the image.
- Try mixing and matching different types of answer options in the same question.
- Use the Image Editor to adjust how the image is cropped (square, portrait, or landscape).
-
Add answer images.
-
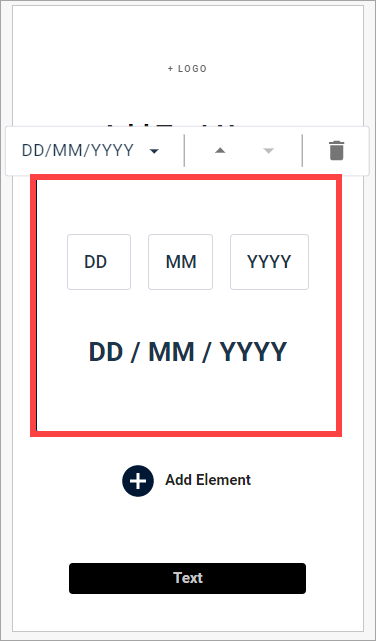
Add a Date Entry element.
-
In the preview pane, hover over the date entry area until a
large box appears around everything, and then click and select a date format
option from the edit toolbar:
- MM/DD/YYYY
- DD/MM/YYYY
- MM/YYYY
- YYYY
-
In the preview pane, hover over the date entry area until a
large box appears around everything, and then click and select a date format
option from the edit toolbar:
-
Move elements up or down.
Click an element, and then use the up and down arrows in the edit toolbar.

-
Delete an element.
Click an element, and then click the delete button in the edit toolbar.

As you make your changes, the preview pane on the left updates and gives you an idea of what participants will see.
-
To preview the activity while still building it, on the activity
toolbar, click
Preview.

The preview opens in a new browser tab. Select a device type to simulate a screen size. Device type options include:
- Phone
- Tablet
- Desktop
For multilingual activities, you can also select the preview language from the language menu.
Previewing the activity throughout the building process gives you a rough idea of how questions will display across different screen sizes, and lets you test the overall activity flow. However, the activity's appearance may vary on different devices and mobile browsers. Testing on a real device before publishing and distributing the activity is highly recommended.